To use the Morpher modifier I had to reset all of the head back to just an editable poly. This would then enable me to select objects from the scene and apply them to the head with the Morpher modifier attached.

To begin with I duplicated the head 7 times and on each head applied an editable poly modifier and renamed each head to what the facial expression would be featured in each of the heads e.g. Smiling or winking.

Head Number 1 (Smiling)
On head number 1, (renamed to smiling) I applied an editable poly and in the vertex mode moved the vertex points around the mouth so that the head would appear with a smiling facial expression.
This can be seen in the image below:

Head Number 2 – Frowning
The same process applied as to the smiling facial expression. On this head I edited the vertex points on the eyebrows by pulling them down.
This can be seen in the image below:

Head Number 3 – Eyes Closed

Head Number 4 – Left eyebrow up

Head Number 5 – Eyebrows Up

Head Number 6 – Mouth Fully Open

Head Number 7 – Mouth Partly Open

Head Number 8 – Winking

Using the Morpher Modifier
Head Number 8 – Main Head

This head has no adjustments made to it, but it does however have the Morpher modifier applied to it.
To make the head the use facial expressions I then used the ‘pick object from scene’ tool. This allows me to assign a head to each of the slots in the Morpher channel list.
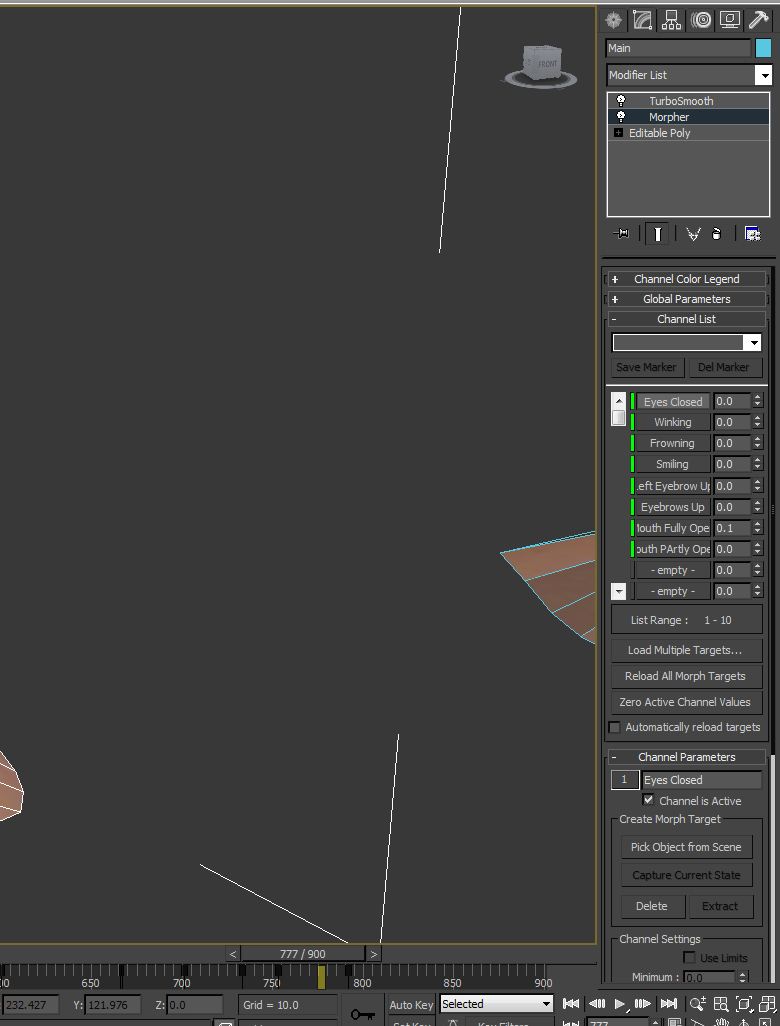
Once all of the heads had been selected I then used the auto key on the time line and at different intervals along the timeline changed adjusted the channel list facial expressions. This made a change on the main head and produced a key frame along the timeline to identify the change.

This could now be rendered into an avi file. Settings are as follows:
1080 x 720 AVI Uncompressed 800 frames – Full Timeline Scale.